Stop Your Site From Showing “Not Secure” In Chrome Browsers
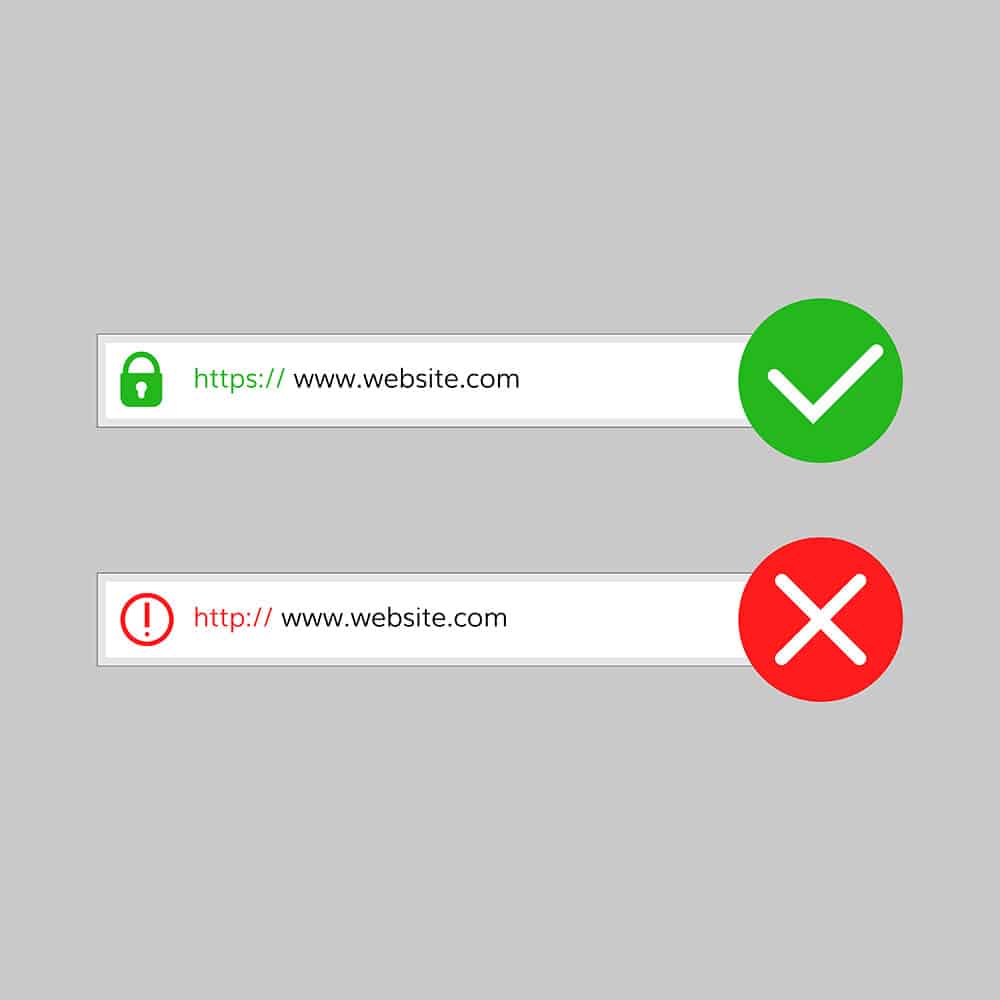
Google has been slowly pushing webmasters to make their websites HTTPS for a while. Over time, they have incrementally increased just how aggressively they communicate HTTPS status to users in Chrome browsers. Now, Google is marking HTTP sites as “not secure”.

Last year, Google announced they would be rolling this out (along with a few other changes that have quite come to fruition yet). With the “not secure” rollout, non-HTTPS websites will seemingly appear less safe to visitors despite the fact that nothing has actually changed with the site itself.
There is no downside to moving a site to HTTPS by installing an SSL certificate on your web property. Below, I’ll answer common questions about the process and show you how to do it — step-by-step —for free.
Why is my website being marked as “not secure”
This is pretty simple. If you’re viewing your website in Chrome browser, and the site is being marked as “not secure”, it is because Google is informing your visitors that your site is being distributed via HTTP (Hypertext Transfer Protocol).
Basically, this is the basis for all data transfer on the web; however, it lacks the encrypted security benefits of what’s called, HTTPS (S = secure).

HTTPS is reserved for sites that have an SSL certificate (Secure Sockets Layer) installed.
This is a standard level of encryption that ensures all data transferred between the server and browser remains encrypted.
This has been something Google has become increasingly passionate about and has been pushing for all websites to add SSL certificates to their site.
Recently, Google began marking non-HTTPS sites as “Not secure” in an effort to get all websites to install an SSL certificate.
This browser notification alerts visitors that their data may not be totally secure; which may cause some visitors to leave their sessions early.
This should be enough of an incentive for publishers to add an SSL to their site, but here’s a few more…
What benefits does my site get from being HTTPS?
Now that Google is marking non-HTTPS sites as “not secure”, websites with an SSL certificate installed will get the benefit of being marked as “secure” in Chrome browsers.
But, that’s not all…
Google previously announced that having your site as an HTTPS site would offer a small rankings boost in search results (it would be factored in as a ranking factor).
And Lastly, HTTPS can help provide some protection against bad actors in the ad ecosystem.

Advertisers displaying ads that deliver to an HTTP website cannot show on an HTTPS site. In the early days of HTTPS, this meant that secure publishers saw less advertiser competition.
Now, this creates a small barrier to entry that keeps out some of the nasty pop-up mobile redirect ads that the ecosystem is constantly battling.
So, to summarize why HTTPS is worth the effort…
- Makes your site appear more secure to visitors
- Protects visitor data better
- Offers small SEO benefit
- May offer some protection from “bad ads”
What problems might I experience when moving to HTTPS?
I would be willing to bet that most websites would have moved to HTTPS long ago if it wasn’t for some concern that they have about the migration.
Typical causes for concern are…
1.) How does redirection take place?
2.) Will it lower my ad revenue?
3.) Will it somehow affect my visitors, traffic, or both?
Here’s the good news. The answer for all of those questions is very simple and should not require any efforts that take more than 30 minutes of your time; unless you have a really complicated situation (I’ll go into the steps further below).
Lets first address the concerns and then I’ll walk through the steps necessary for HTTPS site migration.
Is redirecting a site to HTTPS hard?
No. Not at all.
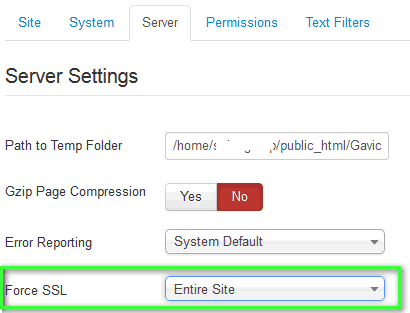
In most cases, it can be done by changing a setting in your CMS or host to “force SSL on all pages” then setting your page canonical links all to the https:// version of the page (more details below).
There is some odd myth out there that you need spreadsheets and a massive page-to-page redirection project to occur.
I think this comes from websites confusing a simple HTTPS migration with some kind of total website migration.
Redirection for HTTPS can happen at the server level or canonical level on the page and should take all of about 3 minutes to configure. After that, you’re done. Your site is redirected to HTTPS.

Will HTTPS lower my revenue?
In the early days of HTTPS the answer to this question was… “maybe”.
Now, the answer is “no”.
As we mentioned above, advertisers driving visitors to an HTTP site cannot display ads on an HTTPS site. This limited competition among a few quality advertisers a long time ago, but now that has largely changed.
If anything, revenue could be positively impacted by moving to HTTPS now.
Will HTTPS Affect My Visitors or traffic?
No.
Your visitors will see the secure site lock in Chrome browsers and your traffic should remain unaffected.
The only changes you might see should be considered positive.
How do I successfully move my site to HTTPS?
Read a first-hand account here.
Every now and again, some sites will have a bit more of a complex move to HTTPS than others. However, this is rare.
Here, I’ll walk you through the steps for a standard SSL implementation so that your site can appear as secure in Chrome browsers.
Step 1: Get an SSL Certificate
There are a lot of places you can get and install an SSL certificate.
Most places charge a small fee for generating an SSL cert. Many times you can have your host or CDN provide your SSL cert. at a low price.
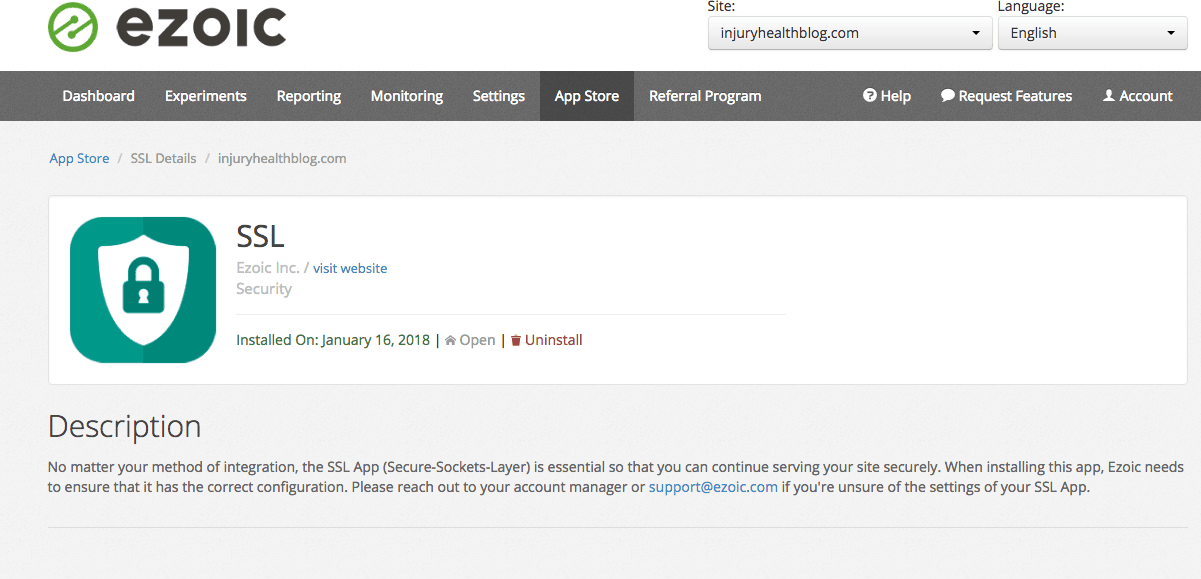
Ezoic offers users a free SSL certificate using the SSL app. There are some other places on the web that offer free SSL certificates as well, like LetsEncrypt.org.
If you get the SSL certificate through your host or Ezoic, installation is simple and directions should be provided within those respective environments.
Step 2: Force all pages to SSL
Now that you have your SSL certificate, you can implement it across all your pages (Note: Each subdomain may need its own SSL if you own multiple subdomains).
This implementation may come under the language of “force SSL on all pages” or “secure all pages with HTTPS”. It varies from platform to platform.
It should be as simple as checking a box.
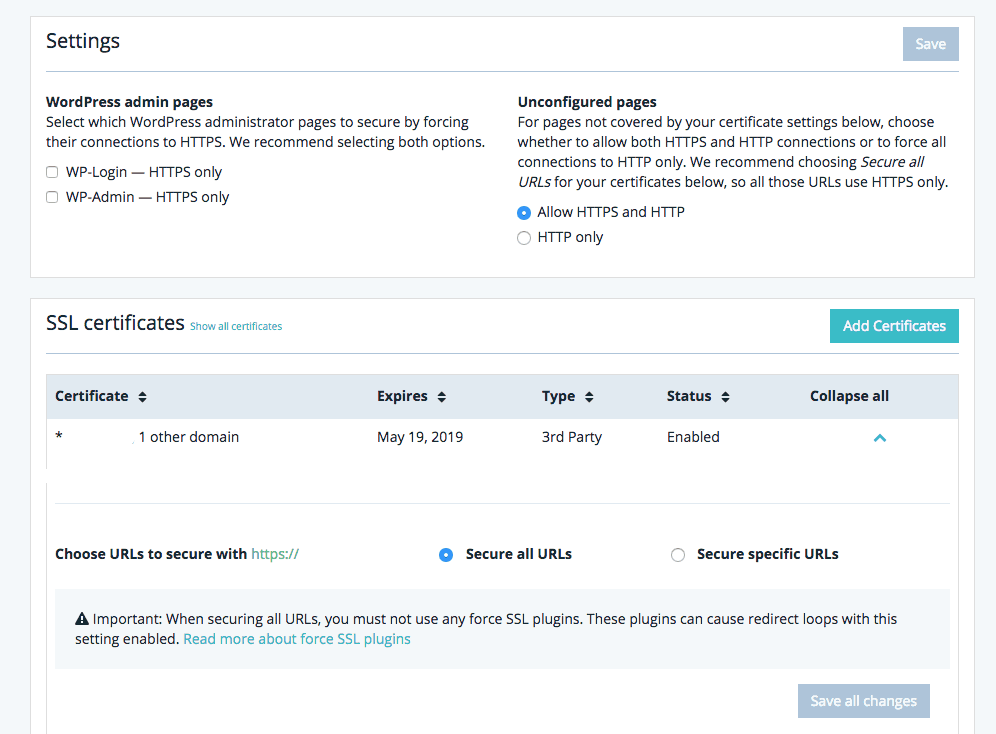
The example above is how it is configured at WP Engine. If you do this through a host or CDN, this will likely be one of only two steps you need to take.
Step 3: Set your canonicals to https://
Once you have set all your pages to be secure via HTTPS, you can configure your site to always deliver the SSL version of your site to visitors regardless of what URL they enter in the browser box or they have been referred to.
This is a very simple process.
You can do this via your robots.txt file or htaccess file.

For WordPress users, all that is typically needed is going into Settings and then changing the WordPress Address (URL) and Site Address (URL) to the HTTPS URL instead of the HTTP one.
Step 4: You’re basically done
Now, you’ve completed moving your site over to HTTPS.
It’s possible you may still have some scripts on your pages that are not secure. These are typically images you’re displaying that are hosted in an exterior database or CDN.
This is what causes the “mixed content” warning in Chrome browsers. If you don’t see this warning, all is well and you have nothing to worry about.
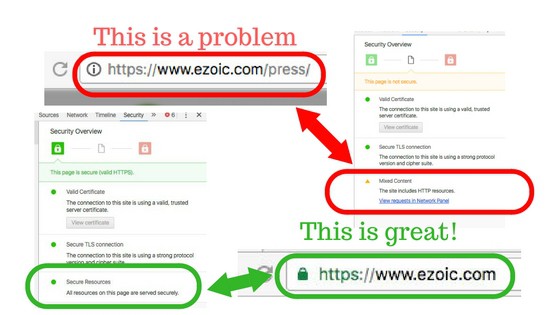
Mixed content can usually be fixed by modifying the settings of the aforementioned image host.
But, if you are really having trouble with this, I wrote a blog on a few hacks on how to solve this problem here.
Final questions about moving to HTTPS
This should be more than enough information to help you take the necessary step of moving to an HTTPs environment.
I understand that lots of publishers don’t feel like its necessary for their site. However, Google hasn’t given you much choice.
If you want to appear secure to your visitors, it is important to take the plunge.
If you have issues or questions about this process, leave them in the comments and I will offer my advice.
